Games Development - Task 3 / Game Prototype
TABLE OF CONTENT
1. Lectures2. Instructions
3. Task 3
4. Feedback
5. Reflection
LECTURES
Click
HERE
to view lectures & exercises
INSTRUCTIONS
<iframe
src="https://drive.google.com/file/d/1IIfvWVGEReanW7C-pGYuNXbCcVAaVTu-/preview"
width="640" height="480" allow="autoplay"></iframe>
Task 3: Game Prototype
Requirement
"Students given the task to create the prototype of their game. The
prototype doesn’t need to have the final art asset, and the use of grey
boxing is allowed. The focus here is to quickly test out the game
mechanics and to troubleshoot any technical difficulties discovered during
the development. The focus should be the MVP of your game."
This includes:
- Coding movements and actions
- Coding obstacles and enemies’ interactions
- Coding game levels (Logic of the game)"
Progression
While working on Task 3, I am also continuing to complete my art assets.
Fig. 1.0 Art Asset
Before designing the level, I plan to first try putting the character into Unity to see how it looks. I used TexturePacker to convert the PNG frames of my various animations into a sprite sheet and then imported it into Unity. However, it's important to note that the exported PNG sizes need to be the same, so that the different character animations in Unity won't have different sizes.
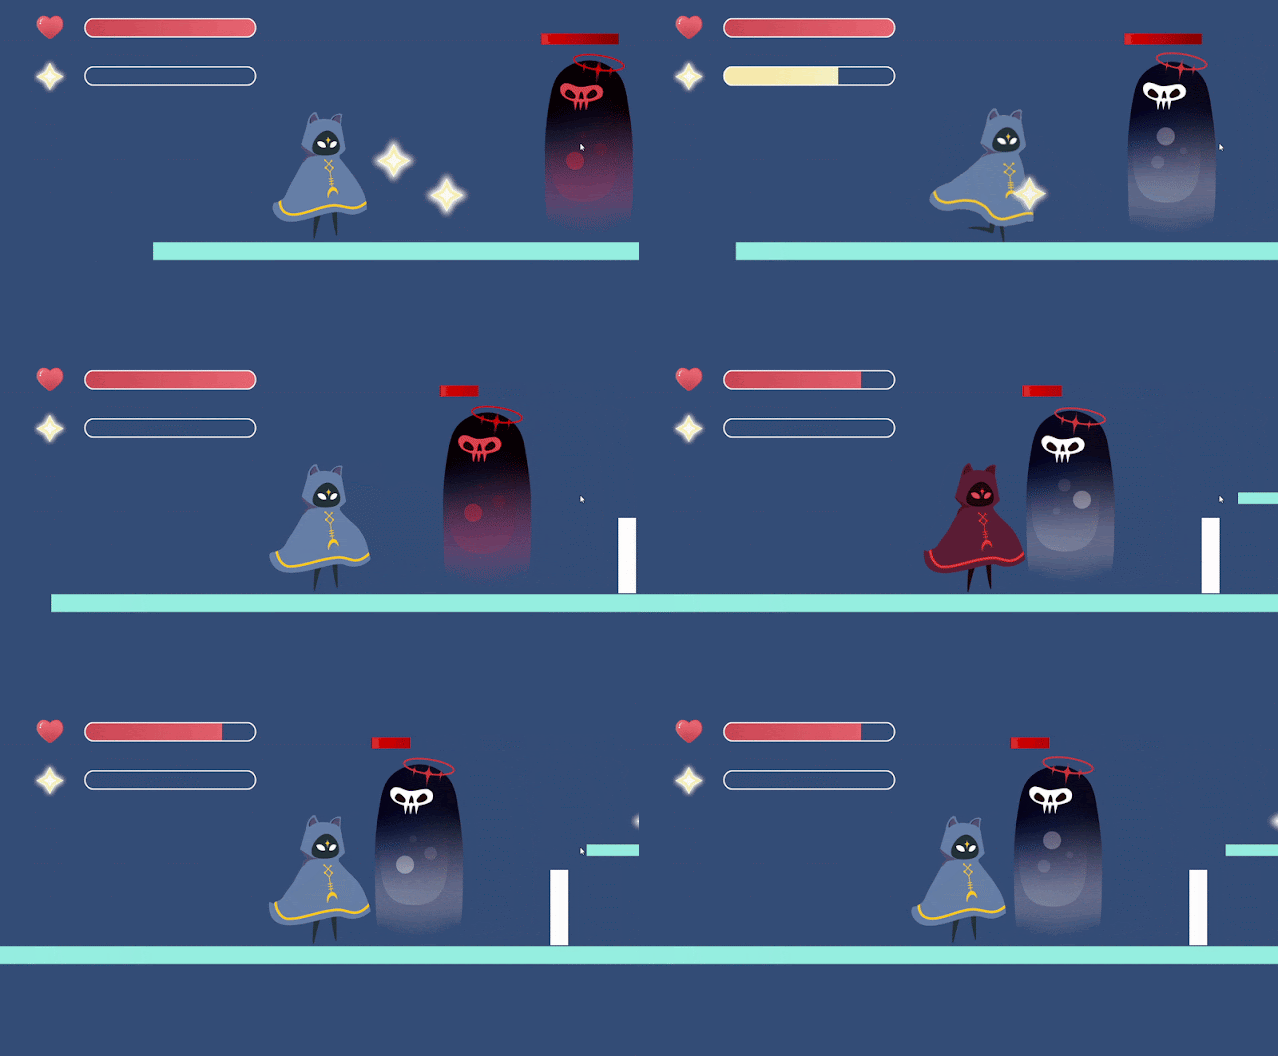
I made a copy of the class exercise file and replaced it with my own character, but I found that my star attack doesn't deal damage to the enemy.
Fig. 2.0 The star attack doesn't deal damage to the enemy
Fig. 2.1 Successfully dealt damage
Next, I created the player's death animation. My design for the player's death is that they are corrupted by dark powers, so they turn black from the feet up to the head.
Fig. 2.2 Player's Death Animation
After the player collects a star, I changed the display to a light energy bar, and the player needs to collect stars to use light energy to perform a star attack.
Fig. 2.3 Light Energy Bar
Fig. 2.4 Enemy Attack
Fig. 2.6 Collect heart to restore HP
Fig. 2.7 Polygon Collider 2D for the irregular ground
I created a dark area where the player's movements slow down upon entering. The player needs to press 'L' on the keyboard to consume light energy and emit a light circle to illuminate the surroundings. However, I found that the light circle is very dim. I made many changes, but the issue with the light circle remains.


Comments
Post a Comment